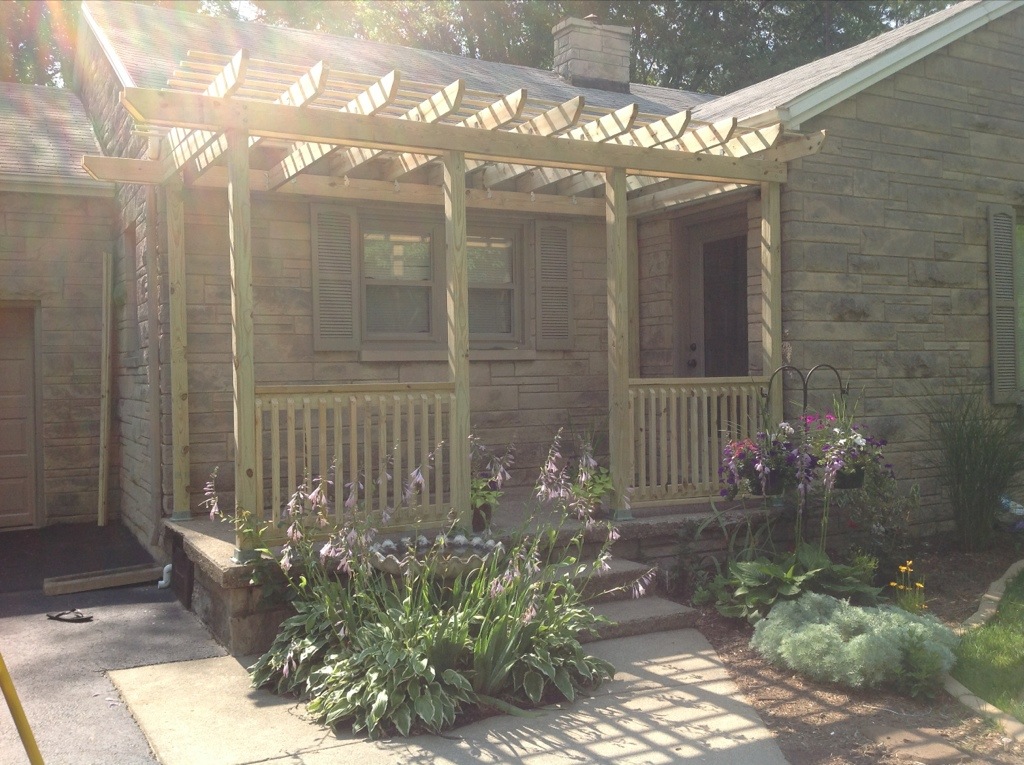
In my last post, I promised that I would write a follow up post about the finishing details of the pergola. Today am going to write about how to make a custom railing.
Step 1: figure out the style or pattern you want to use
You can get ideas by searching Google/Pinterest, walking around your neighborhood or local lumber store, or make up your own. At lumber stores such as Menards or Lowes, you can find prefab railings. Since our project was a custom design, we ended up designing our own based off of David’s parents, Duane and Terry, beautiful yard fencing (wish I had a photo – they are the experts).
Step 2: measure and estimate materials
We wanted roughly 8 feet of railing (4 feet on either side of the steps). It is about 3 feet to the top rail and the bottom rail is roughly 4 inches off the ground. We wanted to place the spindles 4 inches on center.
Material list:
4 – 2x4x8
2 inch screws (1lb box)
3 inch screws (1lb box)
30 – 2x2x36
Total: about $40+ dollars
Step 3: put on the top and bottom rails
Cut the 2x4x8 to length and secure both ends to 4×4 post using 3 inch screws. Screw in at a 45 degree angle. Repeat for base rail.
David and I added a second 2×4 perpendicular to each rail – this is so that the spindles have something to screw into.

Step 4: repeat on other side
Step 5: cut spindles to size and shape
We wanted each spindle to have a 45 degree cut on both ends. You can buy spindles precut like this, but we bought the plain, square end ones because they were significantly cheaper and they would still have to be cut again to fit our custom design.
** Side note: if you can plan a project where you use standard sizes, it will greatly reduce the cost. For example instead of designing something 8 feet 7 inches, design it to be 8 feet. This way, you only have to buy an 8 foot board instead of a 10 foot board (typically boards are sold in 2 foot increments). We did not design the pergola in standard sizes because we wanted a perfect fit – cheaper does not always mean better.
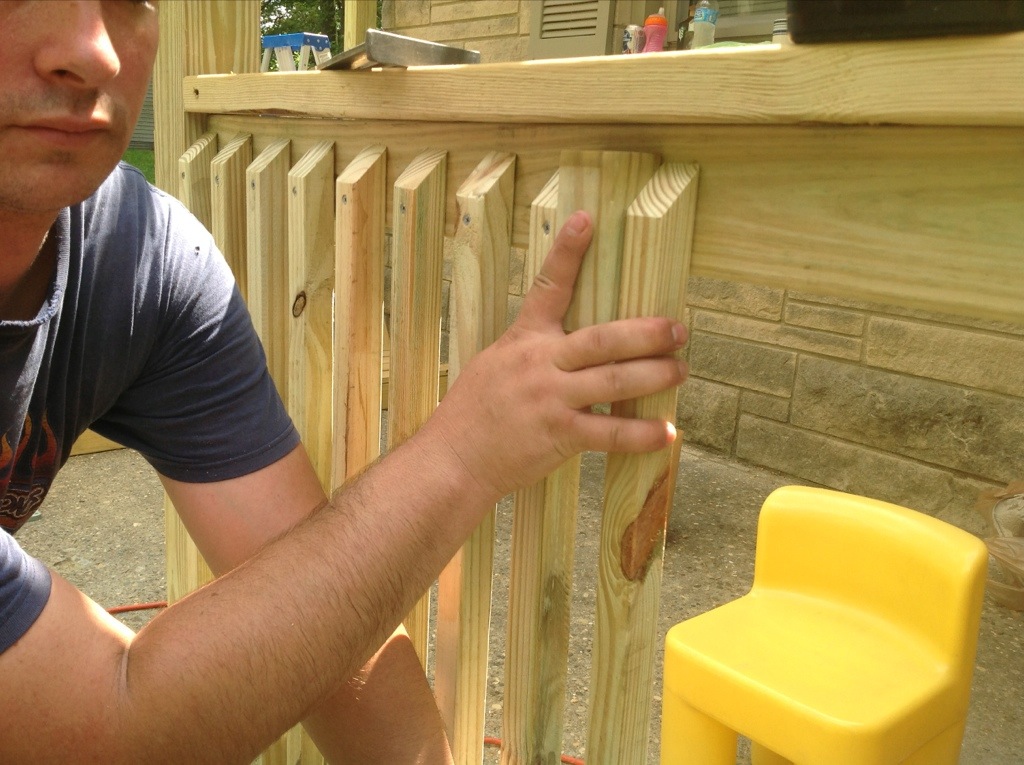
Back to the project. Here is a picture of the precut spindle (we love love love our chop saw that we purchased on craigslist):

Step 6: attach spindles to frame using 2 inch screws
If you are an expert at math, you can do the calculations to get the group of spindles perfectly centered between the two posts. For David and I, we knew that wisteria would be growing up the railing and would hide any errors. However, we did want perfect spacing between spindles. To accomplish this, David created spacers (see picture below) to get this perfect distance between two spindle. In addition, he made sure to rest the bottom edge of the spindle on the base rail before attaching it to the frame.
Overall we only missed being perfectly spaced by roughly 1/4 inch…not bad.
Next post, I will talk about my experience building the porch swing. Stay tuned.
