Some of life’s craziest, most stressful moments happen in the middle of the night, on a weekend. We were very lucky our incident happened in the middle of the afternoon on a weekday while every store was open. I came home from work and saw this in the back of David’s truck:

This is the main shut off valve for water that usually is housed on our basement wall. My first thought “was stay calm Cassi, David would have called if there was an emergency.” I decided to walk around to the side of the house where the water main usually entered the house underground. All I saw was a huge heap of mud with a pipe resting unconnected in the middle of the hole.
A billion thoughts ran through my head: David leaves for work in five minutes – what am I going to do, how much is this going to cost to fix, what arrangements need to be made, can we fix this ourselves? Just as my mind was trying to analyze every potential scenario, outcome, and mortgage rate, my husband came strolling around the house with a grin on his face. I tried with all my might to speak calmly and rationally. “What is going on?”
David began to tell me this story of how we needed to dig up the entire yard back to the hookup by the road because there was a break in the middle of the line. The dollar signs were spinning in my head and I was starting to become unglued. David snickered and said a quick “just kidding.” I didn’t know whether to rejoice or punch him. I think he did that to make the next part seem small in comparison.
He began the real story with “what had happened was…” David and I use that phrase as a way of lightening the mood. When I worked on campus, my students always started their excuses with this phrase and I still smile when I hear it.
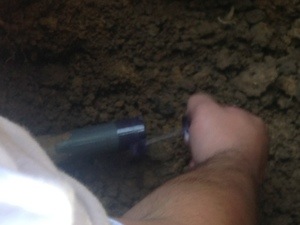
David began the digging outside because there has been small amounts of water leaking into our basement from around the water main anytime it rained. He had a hunch that the seal around the pipe was destroyed. So he began to dig down with a shovel and then switched over to using a post hole digger.
His lesson to share is that when you get close to a pipe while digging, slowdown. David didn’t realize how easy it would be to break the pipe. According to his tale, he barely hit the pipe with the post hole digger and it just exploded. Always remember that things under pressure will bust, break, explode easier than items not under pressure. So what was once a minor leak now turned into a river leaving two inches of water in the basement. **As a side note, as a new home owner, we learned that we are responsible for all maintenance and costs associated with the water line from the point of hookup at the road to and into our house.
Below, I am going to show you what we did to resolve the problem. We have quite a bit of experience and tools required for plumbing however, we are not experts by any means. Always remember as the old saying goes, there is more than one way to skin a cat. So before starting any project, try to flush out all ideas, options, state codes, etc. Additionally, if working with someone else, you are a team and two heads are better than one. Typically people desire to do projects their way only and have the mentality that they are always right (this is David and I to a tee). Just a warning, but this approach can be very destructive on a marriage, so really consider this before purchasing a fixer upper. So chose your attitude and be careful on team projects, especially high pressure (no pun intended) projects because tension is naturally high.
To start off, we spent about $40 on supplies – we had all the tools necessary to complete it. I forgot to take pictures of the fittings which include the pipe to match what was left of the water main (schedule 40) and various PVC connectors (coupler and a male union).
Here are some of the products we used:
Pipe cleaner (preps the surface on PVC to make the glue stick – not optional). This stuff smells horrid and will permanently stain any surface it contacts; you can see my dryer for proof.

PVC Cement

Foam to fill wall/hole. This kind is made for larger gaps.

Step 1. Remove exterior dirt from water main pipe surface- at least three inches back.

Step 2. Use PVC cleaner (purple liquid) on the inside of the coupler and the outside of the water main pipe.

Step 3. Apply PVC cement to inside of coupler and outside of pipe – cover several inches as the coupler needs to be fitted with 50% of the water main and 50% new addition pipe. The picture shows how the water main fills 50% of the coupler. Note – only doing one side at a time. Don’t get ahead of yourself.

Step 4. Push new pipe through basement wall. Check alignment to ensure that it easily connects to water main and coupler. Ours did not meet up very easily and we had to chip a little of the wall away. We’re we shocked because there was already a major gaping hole.

Step 5. Repeat steps one through three on the new pipe addition. Check out where our daughter Reese sat through the entire process:
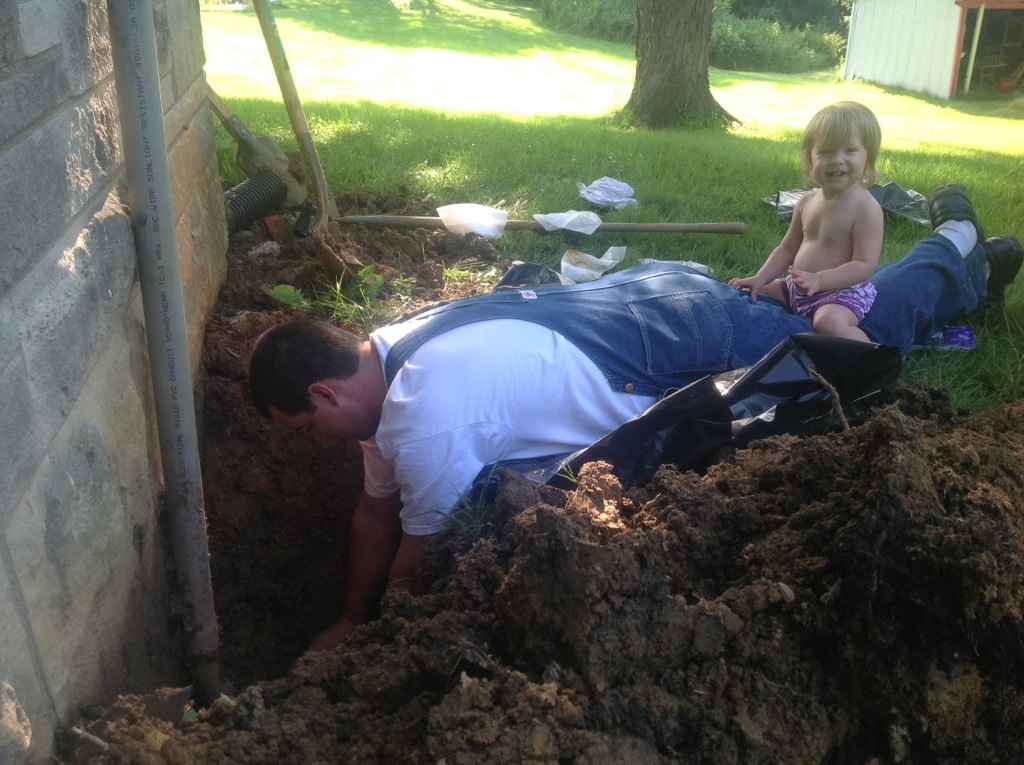
Also note that David is laying on a large black trash bag. This really helps keep you a lot cleaner. He loves wearing overalls because it has a million pockets to hold every tool possible. Now is a good time to take a drink break because:

Step 6. Join male union to main water shut off valve. To do this, we used PTFE pipe seal tape around the threads of the male union. This helps the transition between the PVC and copper. The tape should be put on in such a way that when it is screwed onto the copper, the tape goes in the same direction as the screw threads. Make sure that this is tight – a lot of water pressure is behind this.


Step 7. Join water main to main water shut off valve. To do this you must first cut off the excess pipe (pipe cutter is the best plumbing tool you can own – cheap and makes a smooth cut every time). Make sure to leave about 1.5 inches beyond the wall so that it can go into the other 50% of the male union. Repeat steps one through three to clean and adhere parts together.


Step 8. Reconnect water shut of valve to existing plumbing. Follow steps one through three again.

When working in the basement, it is great to have a head lamp so that you aren’t fooling with a flashlight. I think we bought ours at a dollar store. My dad recommended it to us.
Step 9. Fill hole with foam and seal. At the start of the steps, I showed an item list – look at the foam used. Follow the directions on the can. Usually, you fill the hole to 1/3 and the foam does the rest. We took and extra step and used an exterior grade silicon around the edges. This was only a safety precaution.

Step 10. Carefully turn the main water back on; keeping the shut off value inside house in off position. This way you can see if there are any water coming out on the exterior of the house. Next, go inside and turn on the nearest faucet to full blast. There shouldn’t be any water coming out. The faucet helps to relieve some pressure when turning the main valve on and allows for air and dirt to escape the line. If there are no leaks, you should be good to go. All you need to do is back fill the dirt around the pipe – very carefully.
You made it!
