Before I get going into new projects that show you step by step instructions, I thought I might show you a few completed projects. When you look at these, you need to remember that these were completed over a significant amount of time (having time to do it and having the money to complete it). I will show some before and afters (if I can find the old original photos).
Today, I will show you a little bit of the living room transformation.
Entertainment Wall – we wanted to get a flat screen TV, but we didn’t like the look of it just hanging off the wall. We have another major issue with storage space. We felt that the solution below created a win-win situation, a recessed area for the TV and floating shelves to each side for storage. This project was relatively inexpensive because it was mainly drywall stuff and framing materials.
The shelves were made out out of 1x2s covered with a cheaper grade 1×12 (we did cheaper because we knew we were going to paint them a deep brown). We covered the front with an MDF, narrow door casing style trim and put a thin piece of cove to match our wainscoting in the rest of the room. Super cheap and super easy.
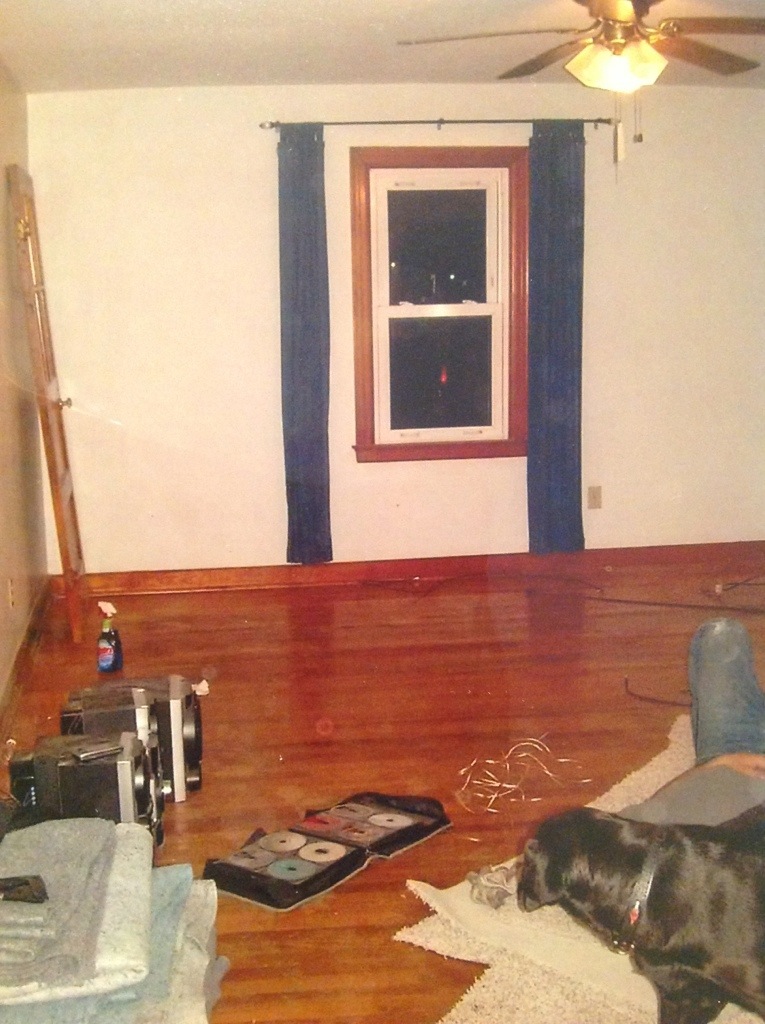
Before:
During:

After: (I didn’t take pictures during the making of shelves. No worries though because we will be doing a similar project in the bathroom.

Entryway (in living room):
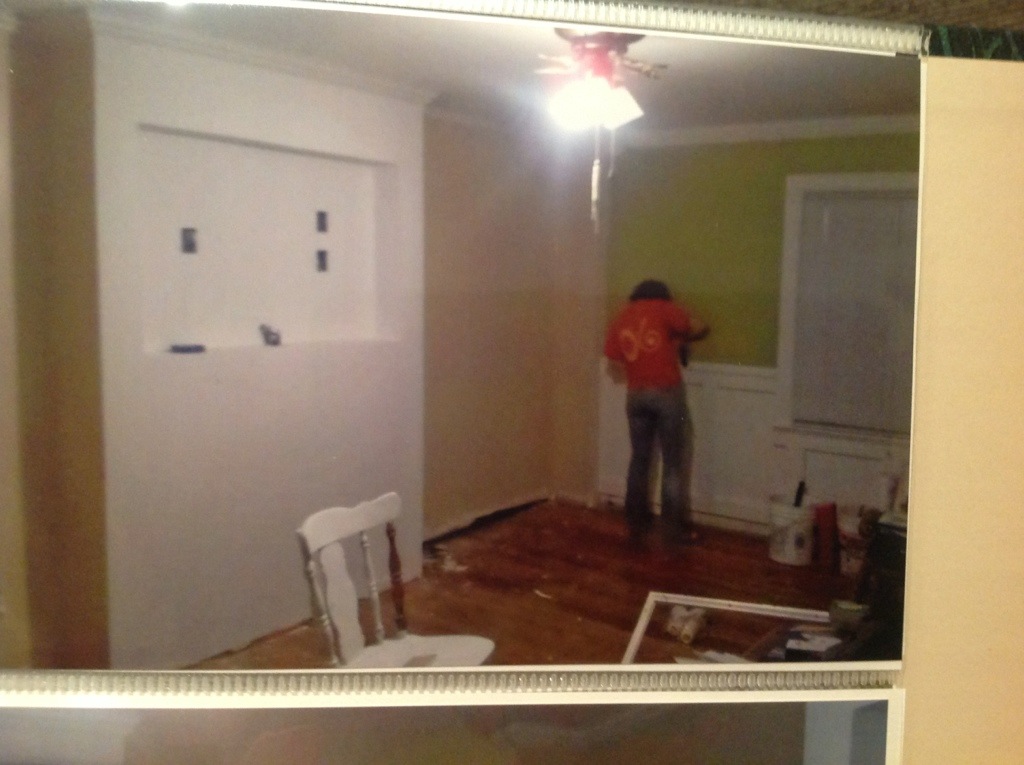
Before – we had a random closet somewhat blocking the main entrance into our home. David and I got the bright idea to take it out completely. It was our first experience with plaster – a very daunting experience. After removing half of the old wall, we found out why the closet was there. The builder of the home had cut the bottom of the roof truss about three feet short of the exterior wall. The closet was there to provide support. We found that this is what caused the dip in our floor. When they put the closet in to support the weight and pressure, they did not put a support in the basement which caused the floor to warp with time. We have since added the jack and have been slowly raising the floor back up. Lessons learned – prepare for the worst and have extra cash just in case, your timeline can’t catch all things so double it, and that problems can arise and you can always chose your attitude in response.
The project below shows how we made due to keep the support and have a slightly better entry.
Before:

After:

Wainscoting – we wanted to dress up our walls a bit in the living room so we added wainscoting on two walls. We were able to upcycle most of it by using an old ugly shelf that was left by the previous owner. We used quarter round on the inside which was also upcycled from when we took it off the floor before we sanded the hardwood. This project wasn’t too difficult – we just had to make decisions on whether we wanted to stay square on application or adjust to make it look square and not show off more of the homes irregularities.
Before:

After:

Tomorrow I will share the kitchen project – oh what a project!

very nice! good job.
Thank you!
You are truly amazing miss Cassi 😉 proud of you! You never cease to amaze me!
Thank you!
Love this! Amazing work.
Thank you! Hope you are doing well!
Looks great. Thank’s for sharing.
Wow! It looks amazing! I love what you did with the TV/shelves. You are so talented! 🙂
Thank you so much! We still have a long way to go. A lot has changed since you were there.